Login Page
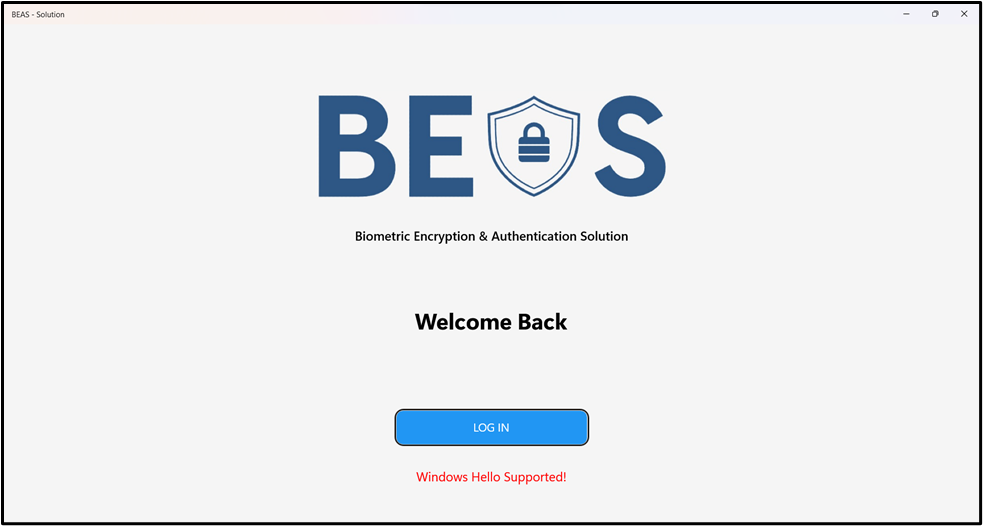
The login page of the Biometric Encryption & Authentication Software (BEAS) is designed with a clean and modern look. It features a white background with a logo at the top, and below the logo, there are two text blocks displaying the software name and a welcoming message. The username of the current Windows user is displayed in the middle of the page, with a drop shadow effect for a 3D appearance. Below the username, there’s a “LOG IN” button styled with a blue background and white text. This page also includes an error message text block, which is used to display various messages to the user, such as whether Windows Hello is supported, whether the user exists or if the login attempt failed.
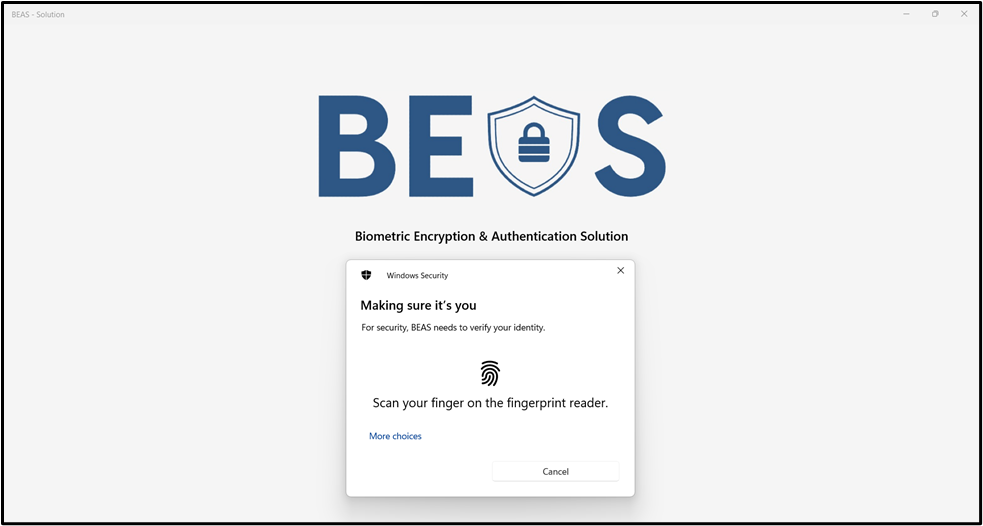
Upon clicking the ‘LOG IN’ button, the page checks if Windows Hello is available and set up for the user. If it is, the user is navigated to the MenuPage upon successful verification. If the verification fails, an error message is displayed. In order to successfully verify the users, a Windows Hello authentication window will be displayed. If the users fail to login, or they cancel the login process, an error message is displayed.
Dashboard Page
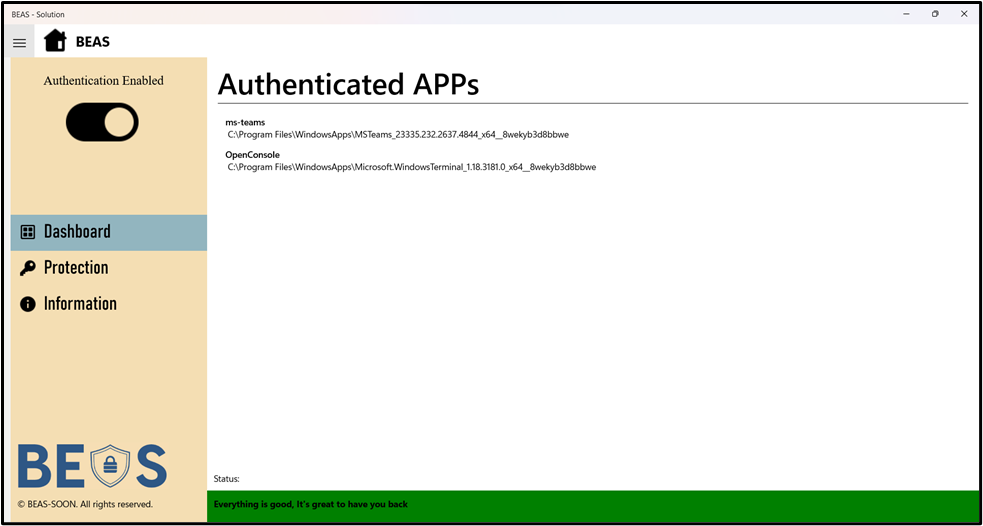
The dashboard page is designed with a clean and modern look, featuring a white background. At the top of the page, there’s a text block displaying the title “Authenticated APPs”. Below the title, there’s a neatly organized list that displays protected software names and path. Each piece of information is arranged in a grid-like structure within the list, providing a clear and concise view of the data. If the data file is not found, a message is displayed to the user suggesting securing their software by adding it into BEAS as status. The page also shows when the authentication is disabled.
Protection Page
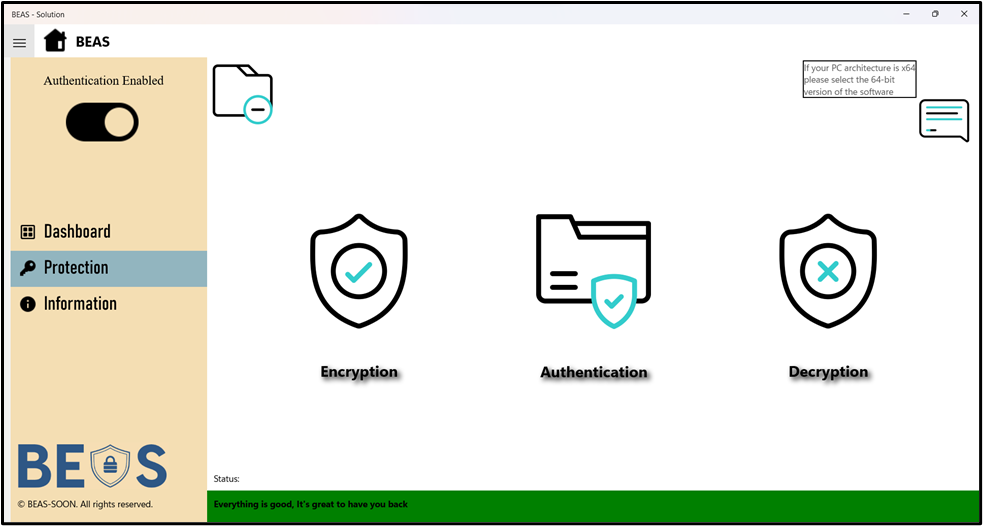
The protection page features an interactive gif image at the top right corner that, when tapped, it will show useful messages (up to 12 tips) to users. As for the top left side of the page, there’s a button with a ‘remove’ icon. When hovered over, it displays a tooltip saying, “Remove all authentication files”.
The main part of the page is divided into three sections. The left and right sections each contain a button and a text block. The button in the left section has an ‘Encryption’ icon and a tooltip saying, “Please select any file to encrypt”, and the text block below it displays the word “Encryption”. The button in the right section has a ‘Decryption’ icon and a tooltip saying, “Please select any file with BEAS extension to decrypt”, and the text block below it displays the word “Decryption”. The button in the middle section has an ‘Authentication’ icon and a tooltip saying, “Please select an executable file to enable authentication”, and the text block below it displays the word “Authentication”.
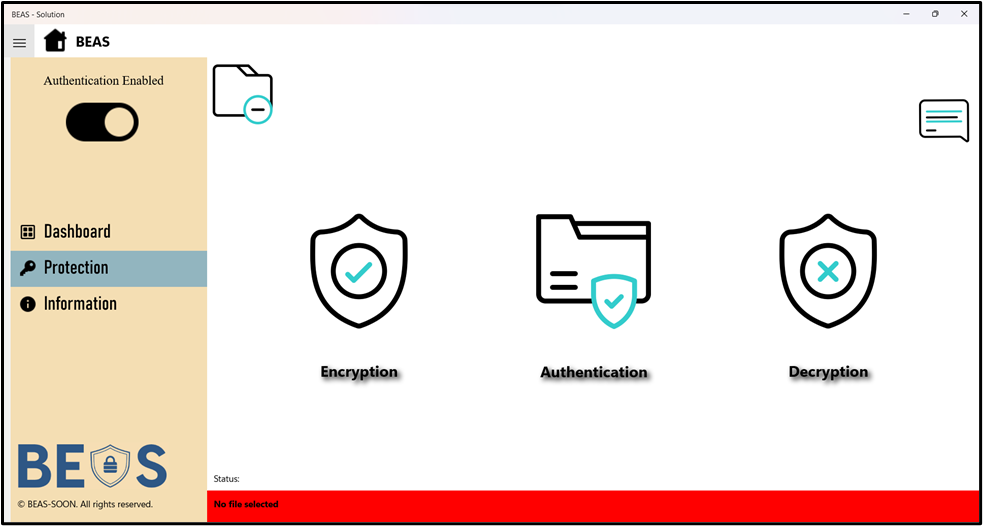
The status message will show as error (red) with text “No file selected” only when users cancel the file selection in the middle when adding a software for authentication, selecting a file to encrypt and decrypt. After clicking on the ‘Encryption’ icon, a file explorer will be displayed for users to select any file they want to encrypt. After done encrypting a file, the status will show the latest message.
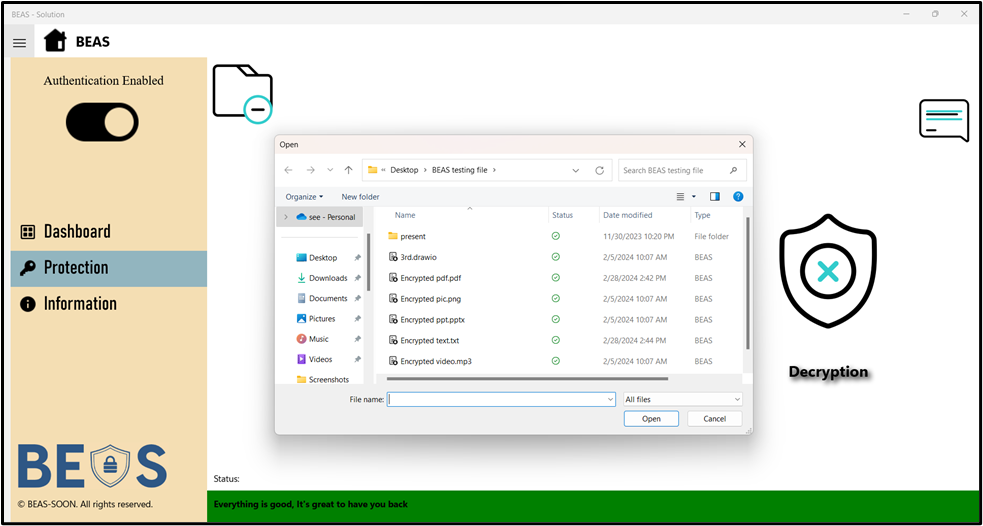
After clicking on the ‘Decryption’ icon, a file explorer will be displayed for users to select any file they want to decrypt. After done decrypting a file, the status will show the latest message. After clicking on the ‘Authentication’ icon, a dialog box appears asking the user to select the type of app they want to add - either an EXE app or a UWP app.
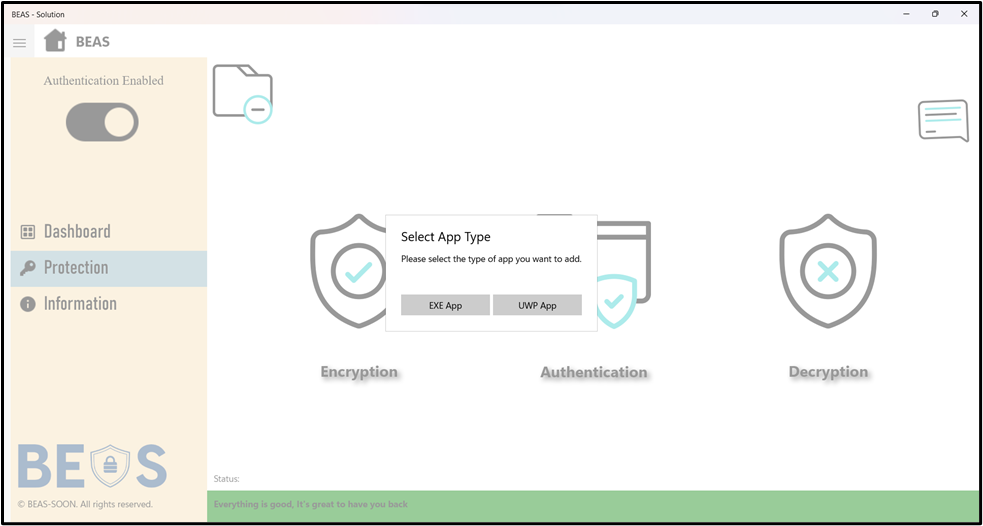
If users select “EXE App”, a file explorer is opened for the user to select a file. If a file is selected, its path is saved locally. If no file is selected, an error message is displayed. After adding software for authentication, the status will show the added successfully message.
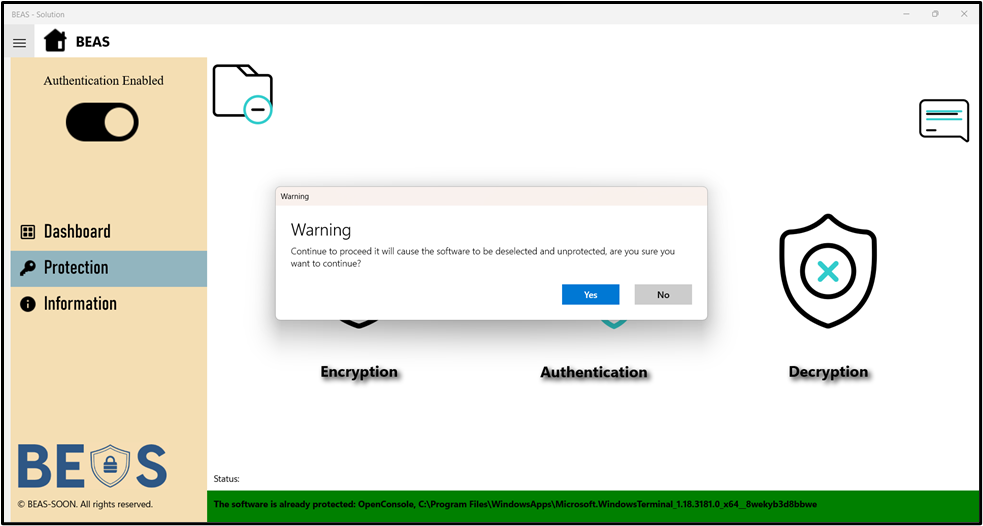
If the software has the protection already, a warning dialog box is displayed to the user, informing them that proceeding will cause the software to be deselected and unprotected. The user is then asked if they want to continue. If the user chooses “Yes”, the code proceeds to remove the file. It reads the lines from a storage file, removes the line corresponding to the selected file and then sends a message to the app service to remove the file. If the removal is successful, a status message is displayed. If the removal fails, an error message is displayed.
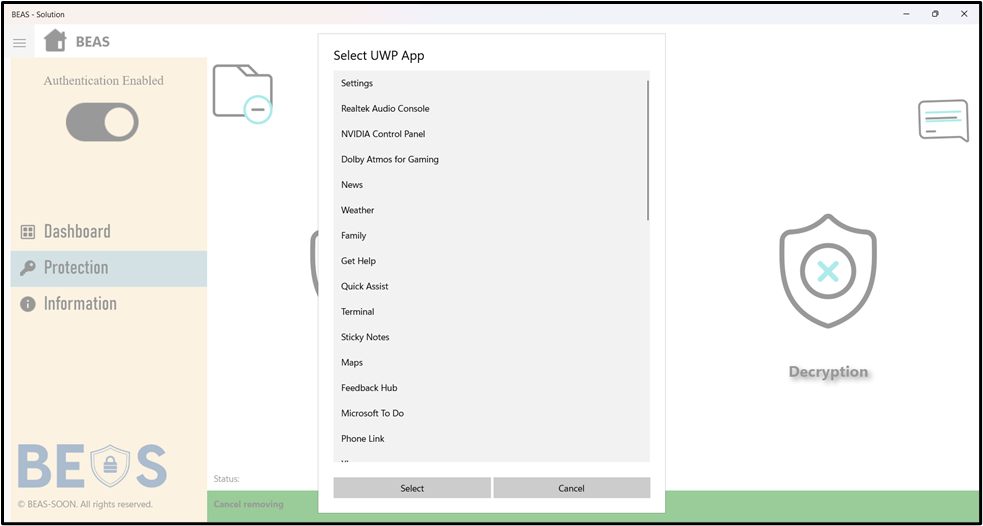
If the user selects “UWP App”, a list of installed UWP apps is displayed in a new dialog box. The user can select an app from this list. If an app is selected, its display name and file path are saved locally. If no app is selected, an error message is displayed.
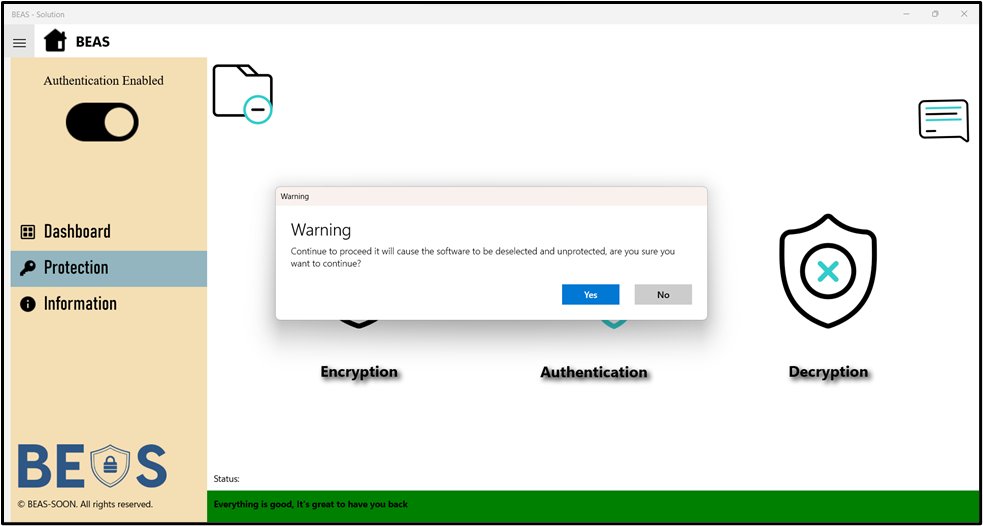
After clicking on the File Remove icon at the top left corner, a warning dialog box appears asking the user if they are sure they want to continue, as this will cause the software to be deselected and unprotected. If the user chooses “Yes”, the code proceeds to remove the file and then displays a status message indicating that the removal is complete.
Information Page
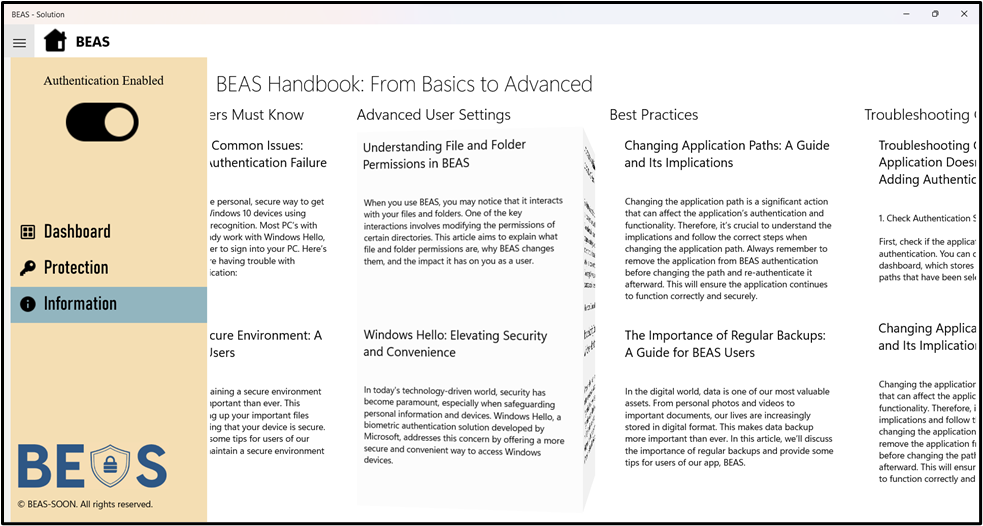
The information page appears to be a handbook for BEAS, the main element on it is a header “BEAS Handbook: From Basics to Advanced”. The Hub is divided into four sections, each representing a different category of the handbook (with some special animation): • “Before Using, Users Must Know” • “Advanced User Settings” • “Best Practices” • “Troubleshooting Common Issues”
Each section is styled with a custom style defined in the page’s resources, which includes a specific content template and header template. This is how the page looks like after users click on the topic. When users intend to close the BEAS, it will first display a confirmation dialog asking the user if they are sure they want to exit. The dialog has two options: “Yes” and “No”.
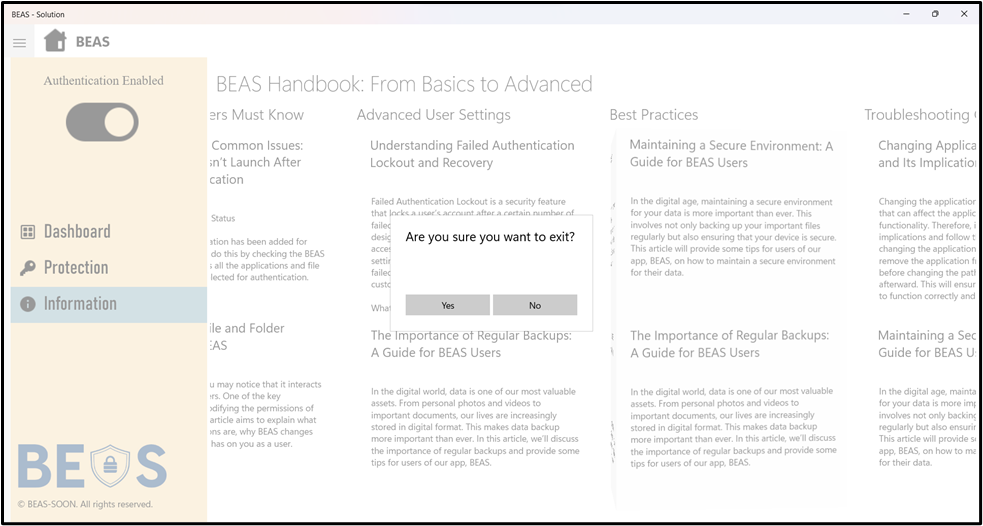
If users select “Yes”, the function disposes of the app’s connection, if it exists, and completes any pending app service deferral. It then allows the BEAS to be closed. If users select “No”, then nothing happens.
File and Software Authentication Page
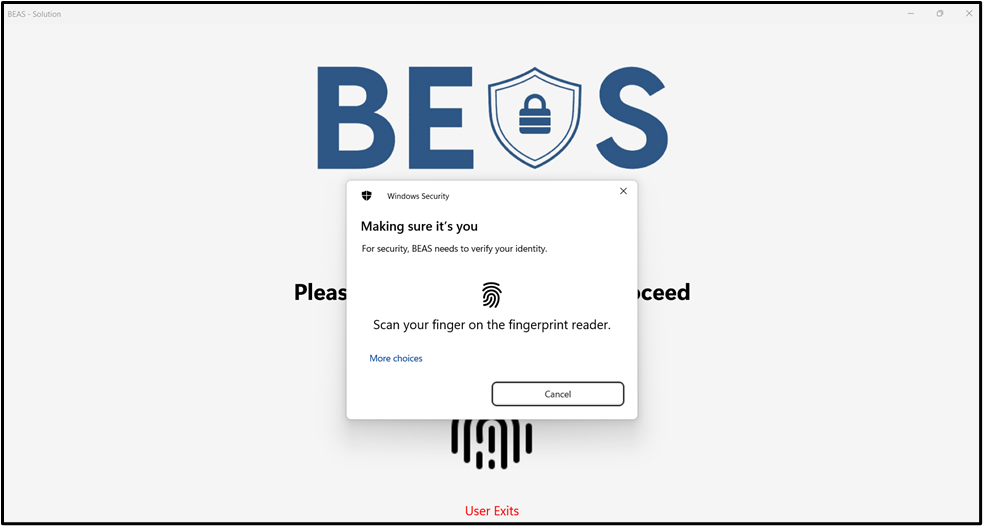
When users click on an encrypted file (with .beas extension) or protected software, This Authentication page will appear to handle user authentication using Windows Hello. If the verification is successful and a file is provided as a parameter, it attempts to decrypt the file. If it is triggered by a protected software and the verification is successful, it sends a success message for the specific process and then closes itself, so that the protected software can be executed. If the user fails to authenticate within the maximum number of attempts (two), it sends a failure message to terminate the software (please note that when users click on protected software, the protected software will be suspended and unavailable until verification is successful).
Console Called by BEAS
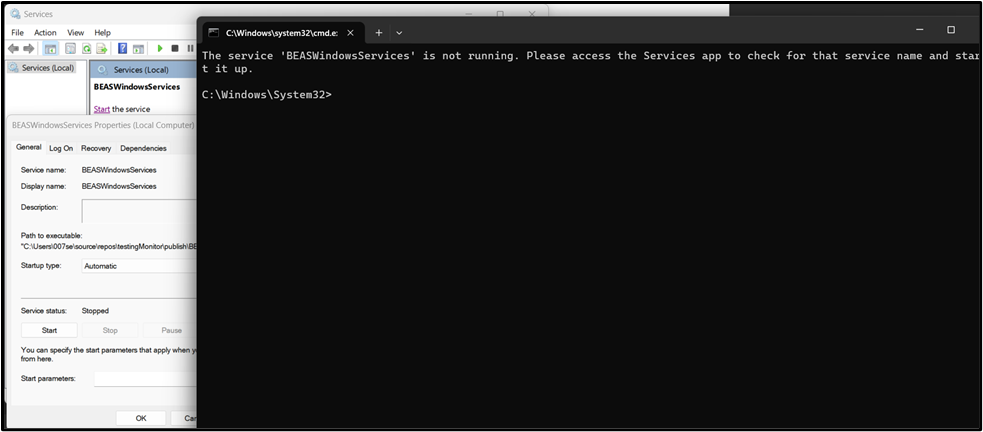
When users open the BEAS, it first checks if a service named “BEASWindowsServices” is installed and running. If the service is not installed or not running, it displays a message in a new console window and closes the BEAS (please note that if the service is not installed, the message will be stated as not installed instead of running).
Link to video demonstration: